Interest in OpenClaw is exploding. Jensen Huang of NVIDIA said “Every company in the world today needs to have an OpenClaw strategy” and “This is the new computer”. And for many of us, having AI-based agents handle tasks that we’d have to do begrudgingly or delegate to someone else, while we focus on what we’re good at, is a dream come true. OpenClaw is truly a powerful tool, the like of which hasn’t been seen before.
But what makes it powerful is the access we give it. The more access, the more power: hand it the keys to our email, calendar, files, etc., and it can do amazing things. It can update our weekly report in seconds, what might have taken us an hour or two. Or it can erase all the files on our disk. Now, we wouldn’t do that last one deliberately, would we? Probably not; but what if a threat actor exploited one of our agents for harm?
Investigating OpenClaw security is the purpose behind this article. Many people ignore security until something goes wrong; but I’m paranoid about this stuff. And, at the time of this writing, there’s no rock-solid solution to protect OpenClaw from misuse and abuse; in the default installation, it’s wide open. I wanted to understand the attack vectors that exist in basic OpenClaw operations, and hopefully help some folks with harm reduction. Because leaving the door wide open is a sure invitation to giving a stranger a remote control to your digital environment. Financial loss, identity theft, privilege escalation, covert listening; the guardrails are gone and every constraint is dissolved.
To go about this research, I decided to perform an OpenClaw installation in a highly sandboxed environment: a virtual machine on my NVIDIA DGX Spark. I use the DGX Spark daily as an isolated workstation, with no access to my personal/professional web, email, calendar, files, etc. etc. And since I’m super-paranoid, and well-aware of what rogue agents can do to a host machine (kernel exploitation, anyone?), I put OpenClaw in a VM to prevent/avoid very low-level, nefarious attacks.
What follows are the steps needed to set this up. It’s intended for the Spark, but it should work on just about any well-equipped Linux machine used for AI research.
The first thing to do is to check out the status of virtualization on the DGX Spark. We’ll use KVM to run our virtual machine, but on my Spark, it was not installed and enabled by default. Do this:
sudo apt update

sudo apt install -y qemu-kvm libvirt-daemon-system libvirt-clients virt-manager bridge-utils
Then add your user to the libvirt and kvm groups, and reboot:
sudo usermod -aG libvirt $USER

sudo usermod -aG kvm $USER

reboot
Some tips: after reboot, you can check to see if virtualization is available via:
sudo virsh net-list --all
You might see something like Name=default, State=inactive, and Autostart=no. You’ll want to start it up with:
sudo virsh net-start default
and
sudo virsh net-autostart default
You do these so the network gets started, turns to an active state, and you don’t have to go through this every time the DGX Spark reboots.
Once that’s done, launch virt-manager:
virt-manager
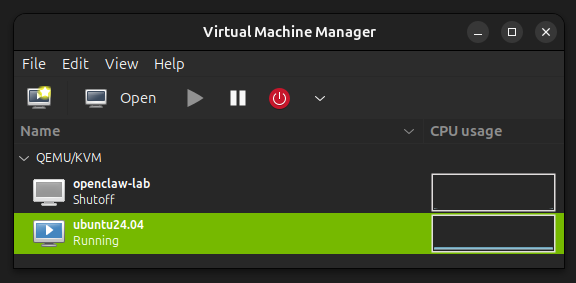
In the top left, you’ll see the icon for creating a new virtual machine.
You’ll want to download and use the ISO ubuntu-24.04.4-live-server-arm64.iso from https://cdimage.ubuntu.com/releases/questing/release/. I tried initially to use the desktop version, ubuntu-25.10-desktop-arm64.iso, but I found some incompatibilities with the OpenClaw environment that caused some problems. And besides, for what we’ll be doing, a server image works just fine.
I set memory to be 16384, vCPUs to be 4, and the disk image to be 60GiB. The Spark has tons of memory and Arm64 cores, so these settings will work just fine. You can allocate more disk space for massive LLMs, that I’ll cover later.
One thing to make sure of is to go into the Virtual Machine Details (the configuration window) and ensure that the NIC is set to Network source:
Virtual network ‘default’ : NAT
and not a bridge device. NAT is easier and safer.
Then go ahead and install Ubuntu Server. You can run the serial console in “rich mode”, which will give you some nice colors.
Don’t install any of the featured server snaps. These are not needed now:
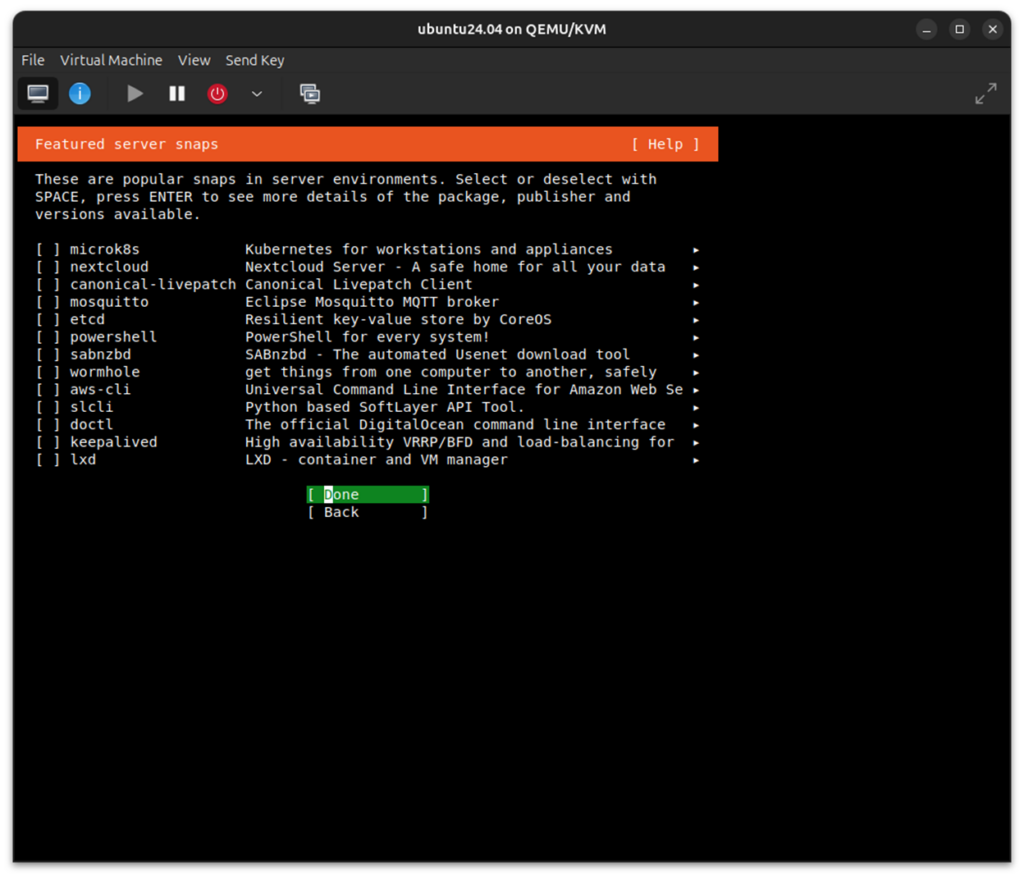
Then reboot the target.
When I’ve done this initially, the console just sits at “connecting…” but never recovers.
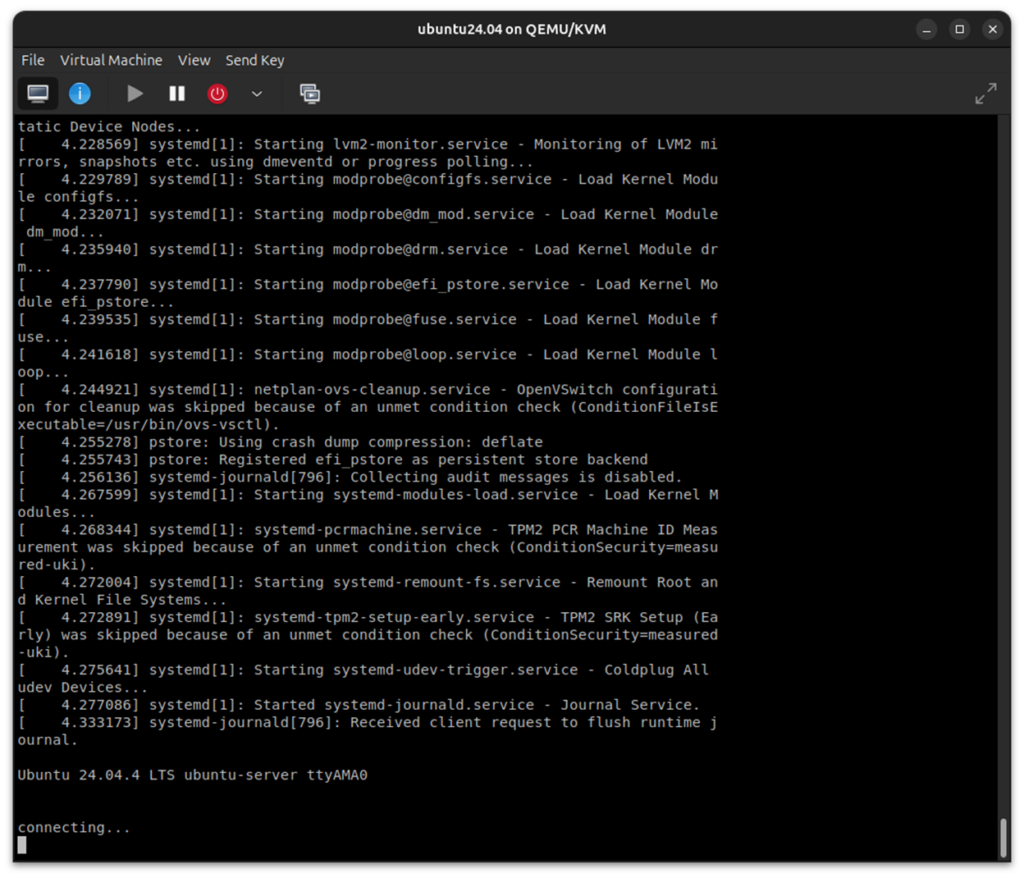
I’ve always found that I had to do a “Force Reset” on the VM to get it to recover. Then power it back on again, and log in.
After Ubuntu finishes installing, update the OS:
sudo apt update

sudo apt full-upgrade -y

sudo reboot
It’s a pretty good idea to create a Snapshot of this clean install of the VM at this point. You can always return to a known good state later if something goes south.
Editor’s Note: UEFI (pflash)-based VMs don’t support internal snapshots, so expect a little trouble here. The solution is to use external snapshots.
In terms of some background housekeeping, install some basic tools, and create a dedicated lab directory:
sudo apt install -y curl git ca-certificates jq

mkdir -p ~/openclaw-lab/{workspace,scratch,notes}

chmod 700 ~/openclaw-lab ~/openclaw-lab/*
You’ll have noticed that the VM comes up simply in a console, and not in the GUI desktop that you’re familiar with. This is because we’re using a Ubuntu Server ISO, and not the Desktop ISO. Setting up the desktop GUI involves several steps, and is tedious. But don’t worry about that for now; for what we’ll be doing with the VM, a serial console terminal session is more than adequate.
Then, install Docker inside the VM for optional OpenClaw agent sandboxing (for use later):
sudo apt install -y docker.io

sudo systemctl enable --now docker

sudo usermod -aG docker $USER

docker version
Now, before we go ahead and install and run OpenClaw, we want to put some high-level restrictions on traffic to/from the VM. There are a lot of choices here, but a good set of commands to protect the VM, at least to start, are here:
sudo ufw default deny incoming

sudo ufw default allow outgoing

sudo ufw allow 18789/tcp

sudo ufw enable

sudo ufw status verbose
The above is enough for very strong VM hardening, and allowing OpenClaw to communicate over port 18789. Optionally, after OpenClaw is installed, the below shows a modified optional outbound policy:
sudo ufw default deny incoming

sudo ufw default deny outgoing

sudo ufw allow 18789/tcp

sudo ufw allow out 53

sudo ufw allow out 80/tcp

sudo ufw allow out 443/tcp

sudo ufw allow out to 192.168.122.1 port 11434 proto tcp

sudo ufw enable

sudo ufw status verbose
The above denies any traffic originating from outside, preventing other systems from initiating connections to OpenClaw services that you did not explicitly open; while at the same time allowing only a restricted set of traffic going to ports 53 (DNS), 80 (HTTP), 443 (HTTPS), and 11434 (later for ollama). We can and will certainly change these later to loosen things up.
Now it’s time to install OpenClaw, via its installer script and configuration utility:
curl -fsSL https://openclaw.ai/install.sh | bash
It only takes a minute or two to install. You’ll be treated to its sense of humor, for example:
“Automation with claws: minimal fuss, maximal pinch.”
But as of the time of this writing, installing OpenClaw 2026.3.28 (f9b1079), there’s a dramatic security warning:
OpenClaw is a hobby project and still in beta. Expect sharp edges.
So, we’ll proceed with caution!
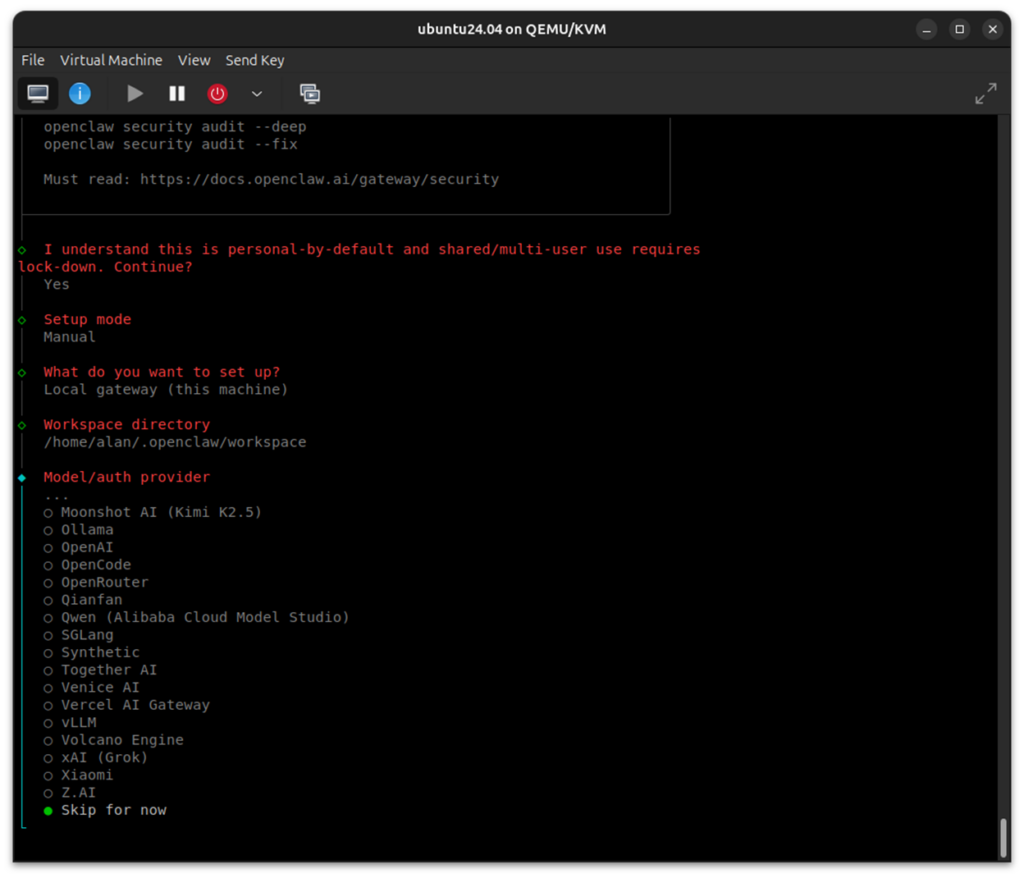
And in fact, the first question we’re asked is “I understand this is personal-by-default and shared/multi-user use requires lock-down. Continue?” and the default answer is No.
We want to select Yes. For this lab, it’s a single-user environment.
And then it asks what the “Setup mode” should be. Pick Manual. We want full control here.
Then pick Local gateway (this machine) – which should be ws://127.0.0.1:18789.
And in response to “Model/auth provider”, use the Down Arrow key to go to the bottom and choose Skip for now. We’ll be using a local model, so we’ll configure that shortly.
And then, “Filter models by provider” should be set to All providers (which is the default).
Next, “Default model” can be set to something harmless, such as gpt-3.5-turbo (select it manually) or one of the smallest models possible. If we pick a big model, like Claude, GPT-4, etc., then the install takes us down a rathole, expecting API keys, running a cloud model, etc. I really would rather have this set to “None”, as we’re going to specify the model later, but that’s not currently available; but it’s no problem, as we’re actually going to change it later.
“Gateway port” should be left at the default of 18789.
“Gateway bind” should be Loopback (127.0.0.1).
For “Gateway auth”, choose Password (again, we’d like a “None” option presented here, but it’s not available). Enter a password.
“Tailscale exposure” can be Off (the default).
Don’t configure any chat channels for now.
Skip for now for the “Search provider”.
Don’t configure any Skills or Hooks.
Install the Gateway service (pick Yes) and then the “Gateway service runtime” should be Node (actually, that’s the only option).
In response to “How do you want to hatch your bot?”, answer Open the Web UI. The TUI choice will be useful later, for automation scripts and headless usage, but for now we don’t need it. We’ll just be using the Chat interface within the browser on our Host.
“Enable bash shell completion for openclaw” should be Yes. This enables tab completion in the terminal.
And with that, onboarding is complete! You can run:
openclaw doctor
To see the expected errors, such as the missing model. We’ll get to that in a bit.
Just for reference, the very important file, ~/.openclaw/openclaw.json, should look like the below at this point:
{
  "wizard": {
    "lastRunAt": "2026-03-31T12:52:50.338Z",
    "lastRunVersion": "2026.3.28",
    "lastRunCommand": "onboard",
    "lastRunMode": "local"
  },
  "agents": {
    "defaults": {
      "model": {
        "primary": "gpt-3.5-turbo"
      },
      "models": {
        "gpt-3.5-turbo": {}
      },
      "workspace": "/home/alan/.openclaw/workspace"
    }
  },
  "tools": {
    "profile": "coding"
  },
  "commands": {
    "native": "auto",
    "nativeSkills": "auto",
    "restart": true,
    "ownerDisplay": "raw"
  },
  "session": {
    "dmScope": "per-channel-peer"
  },
  "gateway": {
    "port": 18789,
    "mode": "local",
    "bind": "loopback",
    "auth": {
      "mode": "password",
      "password": "<redacted>"
    },
    "tailscale": {
      "mode": "off",
      "resetOnExit": false
    },
    "nodes": {
      "denyCommands": [
        "camera.snap",
        "camera.clip",
        "screen.record",
        "contacts.add",
        "calendar.add",
        "reminders.add",
        "sms.send"
      ]
    }
  },
  "meta": {
    "lastTouchedVersion": "2026.3.28",
    "lastTouchedAt": "2026-03-31T12:52:50.351Z"
  }
}
We’ll be making some changes to it, so it wouldn’t hurt to back it up with:
cp ~/.openclaw/openclaw.json ~/.openclaw/openclaw.json.bak 2>/dev/null || true
You’re going to set up a connection between the browser/localhost on your Host, and the gateway “listener” on your VM. So, it’s helpful to know the IP address of your VM. Check it with the “ip a” command. In my case, it is 192.168.122.242.
And given that OpenClaw needs to communicate between the Host and the VM, we need to install and activate SSH on the VM:
sudo apt update

sudo apt install -y openssh-server

sudo systemctl enable --now ssh

sudo systemctl status ssh
From the last instruction, you should see it active (running). Then, you’ll need to update your firewall settings to let the SSH traffic through:
sudo ufw allow 22/tcp

sudo ufw allow 18789/tcp

sudo ufw status
On the Host, create the tunnel to the VM:
ssh -v -N -L 18889:127.0.0.1:18789 alan@192.168.122.242
After entering the password for the VM, the cursor on the Host will just sit there; that’s OK.
And finally, on the VM:
openclaw gateway --verbose
Go to your Host browser and enter:
http://localhost:18889
And then you are in!
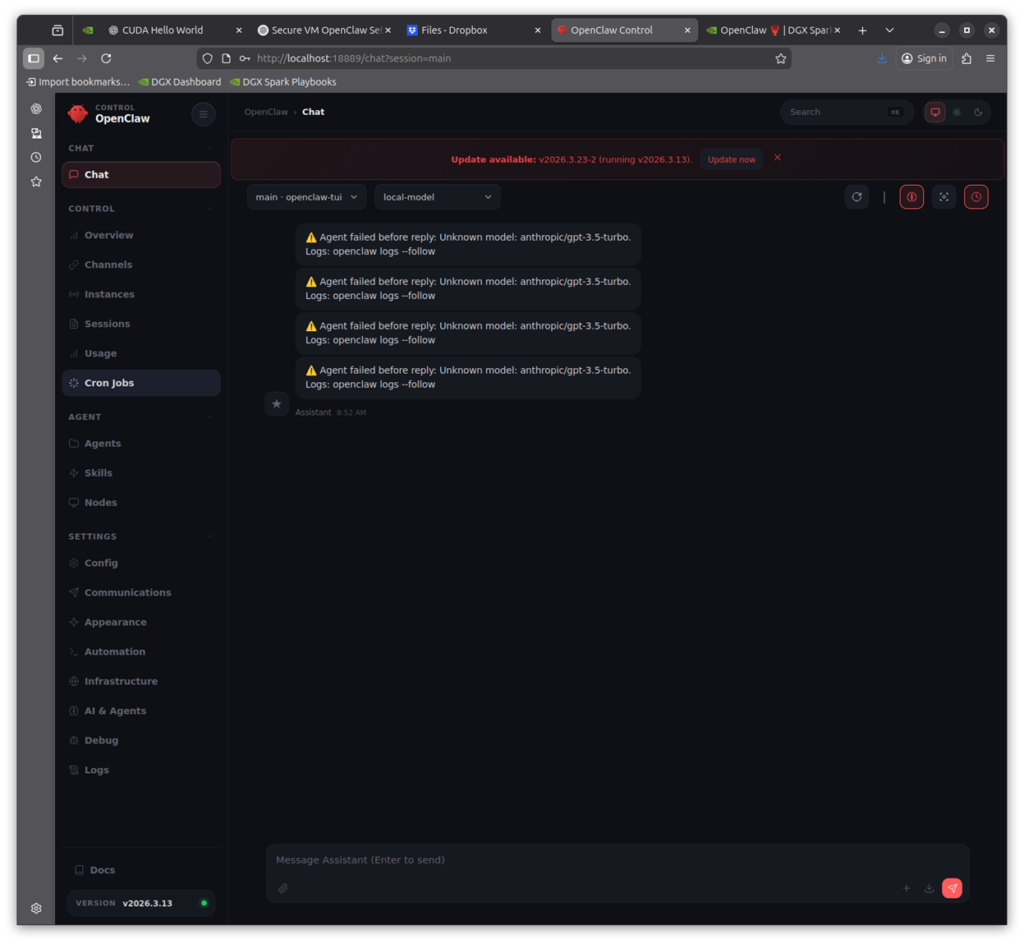
But wait, it won’t work yet! Before we get too excited, there’s still some work to do. You’ll see the error message as it tries to connect with gpt-3.5-turbo in my example above. But we are going into the home stretch now. All we need to do is install the local LLM we want, point OpenClaw to it, and we can do what we want. Here are the steps.
In my experimentation, it’s best to use a medium-sized LLM. Using super-small models like llama3.2:3b gives rather poor answers. And using bigger ones like Nemotron 3B Super or GPT-OSS-120b are more difficult to get up and running (at least at the time of this writing). I picked qwen2.5:14b-instruct as a medium size, general purpose LLM, and it’s quite well suited to supporting OpenClaw. And we’ll use ollama to serve the local LLM, as it’s simple and effective. And although it’s possible to install ollama in the VM, we’ll put it on the Host for performance reasons.
Run the Ollama installer on the Host:
curl -fsSL https://ollama.com/install.sh | sh
Verify that it works, then pull in the qwen2.5 model:
ollama -v

ollama pull qwen2.5:14b-instruct
We’ll do a couple of housekeeping things to keep the LLM alive, interactive, and make it reachable from the VM. Create and override:
sudo systemctl edit ollama
When the editor opens, paste exactly this:
[Service]

Environment= "OLLAMA_HOST=192.168.122.1:11434"

Environment= "OLLAMA_KEEP_ALIVE=-1"
Save and exit, then run:
sudo systemctl daemon-reload

sudo systemctl restart ollama

sudo systemctl status ollama
Now confirm the new bind:
ss -tulnp | grep 11434
It’s looking good if you see a LISTEN on *:11434.
You’ll also need to update the openclaw.json on the VM for this new model. The one I used is below:
{
  "meta": {
    "lastTouchedVersion": "2026.3.13",
    "lastTouchedAt": "2026-03-23T20:26:48.025Z"
  },
  "wizard": {
    "lastRunAt": "2026-03-23T17:34:17.295Z",
    "lastRunVersion": "2026.3.13",
    "lastRunCommand": "onboard",
    "lastRunMode": "local"
  },
  "agents": {
    "defaults": {
      "model": {
        "primary": "ollama/qwen2.5:14b-instruct"
      },
      "workspace": "/home/alan/.openclaw/workspace",
      "compaction": {
        "mode": "safeguard"
      }
    }
  },
  "models": {
    "providers": {
      "ollama": {
        "baseUrl": "http://192.168.122.1:11434",
        "apiKey": "ollama-local",
        "api": "ollama",
        "models": [
          {
            "id": "qwen2.5:14b-instruct",
            "name": "Qwen 2.5 14B Instruct",
            "reasoning": false,
            "input": ["text"],
            "cost": {
              "input": 0,
              "output": 0,
              "cacheRead": 0,
              "cacheWrite": 0
            },
            "contextWindow": 128000,
            "maxTokens": 32000
          }
        ]
      }
    }
  },
  "tools": {
    "profile": "minimal"
  },
  "commands": {
    "native": "auto",
    "nativeSkills": "auto",
    "restart": true,
    "ownerDisplay": "raw"
  },
  "session": {
    "dmScope": "per-channel-peer"
  },
  "gateway": {
    "port": 18789,
    "mode": "local",
    "bind": "loopback",
    "controlUi": {
      "allowedOrigins": [
        "http://192.168.122.242:18789",
        "http://localhost:18889"
      ]
    },
    "auth": {
      "mode": "password",
      "password": "<redacted>"
    },
    "tailscale": {
      "mode": "off",
      "resetOnExit": false
    },
    "nodes": {
      "denyCommands": [
        "camera.snap",
        "camera.clip",
        "screen.record",
        "contacts.add",
        "calendar.add",
        "reminders.add",
        "sms.send"
      ]
    }
  }
}
And once you’ve transferred and replaced the openclaw.json on the VM with the above new one, execute the following:
openclaw doctor --fix

openclaw gateway stop

pkill -f openclaw

export OPENCLAW_GATEWAY_PASSWORD=’<redacted>’

openclaw gateway --verbose
And of course you’ll need to start up the ssh connection between the Host and VM:
ssh -v -N -L 18889:127.0.0.1:18789 alan@192.168.122.242
And the web browser will refresh on its own, displaying OpenClaw in all its glory.
Try some easy prompts:
Say hello in one sentence.
List all the files in the workspace.
Read the files in my workspace and summarize the key safety controls in this lab.
Using the files in my workspace, create a 7-day beginner study plan for learning OpenClaw safely.
Change the file suffixes (.md) in the workspace to .md1.
Undo the change to the file suffixes.
That’s a great start! In the next article, I’ll start loosening the reins on OpenClaw, giving it more privileges, and demonstrating introduced vulnerabilities and how to protect against them.